How to Paste Tempered Glass on Mobile?
That feeling of unboxing a new phone is pure joy, isn’t it? The screen is flawless, shiny, and perfect. But then, the fear sets in—the fear of the first scratch, scuff, or worse, a crack.
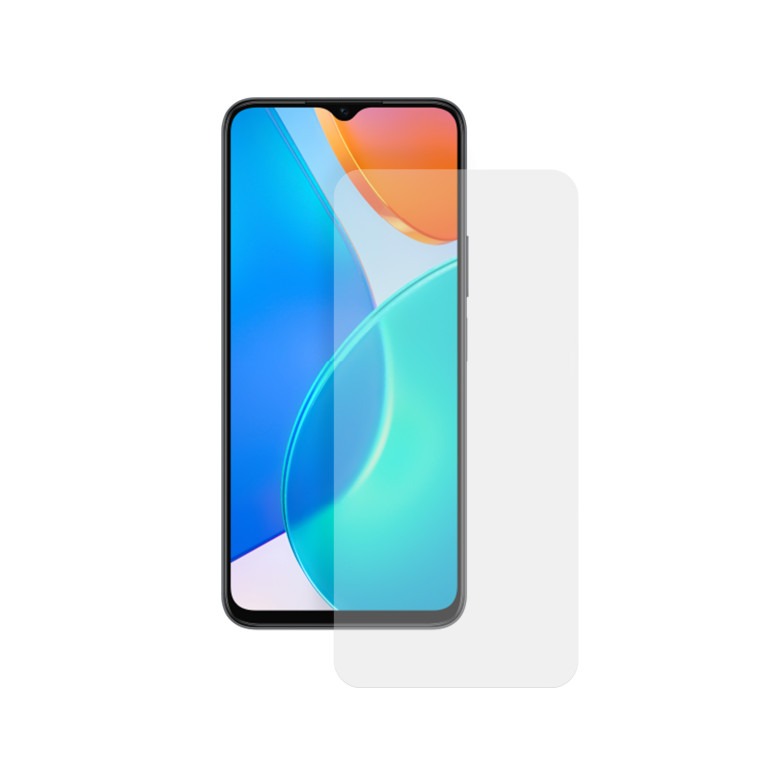
That’s where a tempered glass screen protector comes in. It’s your phone’s invisible bodyguard. But applying it can feel like a high-stakes operation. One wrong move and you’re left with annoying bubbles or a crooked fit.
Don’t worry! Getting a perfect, bubble-free application is easier than you think. Let’s walk through it step-by-step.
Please Read – Super X Tempered Glass Wholesale
First, Get Your Workspace Ready
Before you even touch the screen protector, prepare your area. This is the secret to a flawless finish.
-
Find a clean, dust-free room. A bathroom after a hot shower is great because the steam helps settle dust particles.
-
Work on a flat, stable surface. A table or desk is perfect.
-
Wash your hands thoroughly! Oils and dirt from your fingers are the enemy.
-
Turn off your phone’s screen. This makes it easier to spot dust and lint.
The Step-by-Step Action Plan
Most tempered glass kits come with a wet wipe, a dry wipe (or microfiber cloth), and a dust-removal sticker. Let’s put them to use.
Step 1: The Squeaky-Clean Sweep
Open the alcohol or wet wipe (usually labeled “1”) and clean your phone’s screen from top to bottom. Be thorough and get into the corners. This removes fingerprints and smudges.
Step 2: Dry and Polish
Next, take the dry wipe or microfiber cloth (usually labeled “2”) and wipe the screen completely dry. Polish it until it shines. Make sure there is no moisture left.
Step 3: The Final Dust Hunt
This is the most critical step. Look at the screen from an angle under a bright light. See any tiny specks of dust? Use the dust-removal sticker included in your kit to dab them away. Don’t wipe with it, just press and lift.
Step 4: Peel and Align
Carefully peel the protective film from the adhesive side of the tempered glass. Hold the protector by its edges—do not touch the sticky side!
Now, align the glass with your phone’s screen. Use the earpiece, front camera, and home button cutouts as your guides. Take your time. Hover it over the screen until it looks perfectly positioned.
Step 5: Place and Press
Once you are happy with the alignment, gently lay the tempered glass onto the screen. Don’t press down just yet.
Lightly tap your finger in the center of the glass. You will see the magic happen as the adhesive begins to spread out towards the edges on its own.
Step 6: Squeeze Out the Bubbles
If you see any small air bubbles, don’t panic. Take the microfiber cloth and, starting from the center, gently but firmly push the bubbles toward the nearest edge. Most will slide right out.
Oops! Troubleshooting Common Hiccups
What if there’s a stubborn bubble?
If a bubble won’t budge, it’s likely trapped over a speck of dust. You can very carefully lift the corner of the glass closest to the bubble, use the dust sticker to snag the particle, and then lay the glass back down.
What if the glass is crooked?
If you notice it’s misaligned right after placing it, you can usually lift it carefully and re-align it immediately. The adhesive is forgiving for the first few seconds.
And there you have it! A perfectly applied screen protector. Now you can enjoy your phone with the peace of mind that its screen is safe and sound. Pat yourself on the back for a job well done